
This is a classic sourdough loaf that works well for beginners and experienced bakers. It yields a medium-high hydration loaf that is both flavorful and versatile, remaining easy to work with, even for those who are just starting in their baking journey.
A good sourdough loaf doesn’t require complicated techniques or hard-to-find ingredients — just a little patience and a reliable process. With a strong, active starter and a few simple pantry staples, you can create a beautifully crusty loaf with an airy, tender crumb and the signature depth of flavor that makes sourdough so special.
One of the best things about this recipe is its flexibility. Once you become comfortable with the basic dough, it can easily be adapted with mix-ins like roasted garlic, herbs, olives, cheese, chocolate chips, or dried fruit. It’s a dependable foundation that allows you to experiment while still producing a loaf you’ll be proud to pull from the oven.
If you’re new to sourdough, this recipe will guide you through the essential techniques that build confidence in bread baking — from mixing and folding the dough to shaping and baking a loaf with a crisp, golden crust. And if you’ve been baking sourdough for a while, you’ll appreciate having a straightforward, dependable formula that produces consistent, delicious results every time.

Ingredients
Sourdough is only 4 ingredients!
Active Sourdough Starter or Levain: Your starter is the “mother culture,” and the levain is a fresh, active portion built specifically for that loaf. A levain is a portion of sourdough starter that has been freshly fed and allowed to ferment before mixing the dough. Bakers build a levain from their main starter to ensure the yeast and bacteria are active and strong. Using a levain helps create better fermentation, improved flavor, and a more reliable rise in the final loaf.
Bread Flour: Bread flour is a high-protein wheat flour. The extra protein helps develop strong gluten, which gives bread better structure, chew, and rise. Bread flour usually has 12-13% protein content (this is typically listed on the package of the flour). You can use all-purpose flour with a higher protein content – 11% or higher. I like to use a blend of Costco’s Organic All-Purpose Flour and Organic Bread Flour. Always used unbleached flour for sourdough!
Water: Use room-temperature or warm water (no warmer than 100 degrees F). I use warmer water in the winter to help keep the dough within 75-78 dregrees F.
Salt: I use kosher salt, but any non-iodized salt works.
Sample Time Table
Sourdough isn’t complicated, but it is all about timing. It is important to plan out your bake to make sure you have enough time and are available to tend to your dough when it needs it.
| Day 1 | |
| 8:00 PM | Feed Starter 1:2:2 You will need around 50 grams of active starter for the levain. I recommend starting with at least 25g of starter and feeding it 50g of flour & 50g of filtered water. 1:2:2 ratio will give you a strong rise on your starter overnight, especially if you are pulling it from the fridge |
| Day 2 | |
| 8:00 AM – 12:00 PM | Make Levain with a 1:1:1 ratio 50g active starter, 50g starter, 50g water. ** If you have a strong active starter, you can skip this step and use the active starter. However, using a Levain Using a levain often leads to more predictable bulk fermentation, which makes shaping and proofing easier. |
| 12:00 PM | Mix Dough 100g Levain, 500g Flour, 350g Water Rest for 1 hour |
| 1:00 PM | Stretch and fold #1 Add 10g of Salt & perform first round Stretch and Folds |
| 1:30 PM | Stretch and fold #2 |
| 2:00 PM | Stretch and fold #3 |
| 2:30 PM | Stretch and fold #4 |
| 3:00 PM – 8:00 PM | Bulk Fermentation This will take 4-6 hours, depending on the temperature of the dough and the kitchen. Dough should rise 50%, with small bubbles on the bottom and side of the bowl, dough feels light and airy, pulls away easily from the side of the bowl, and surface is smooth and slightly puffy |
| 8:00 PM | Shape Dough and Cold Ferment Place in a floured banneton or bowl and cover in the fridge |
| Day 3 | |
| 8:00 AM | Score and Bake Cool for at least 2 hours before cutting |
STEPS TO MAKE CLASSIC SOURDOUGH BREAD
Step 1 Make Levain: Mix 50g active starter, 50g starter, 50g water. This will make around 150g of levain, and you only need 100g. You can add the remainder to discard or back to your mother starter. Let rise for 4-5 hours until it has doubled in size and is active and bubbly.
Step 2 Mix Dough and Autolyse: Autolyse is a rest period in sourdough baking where starter, flour and water are mixed and left to sit before adding salt. This allows the flour to fully hydrate, gluten to develop naturally, and enzymes to start breaking down starches. The result is a dough that is easier to stretch, more extensible, and yields a lighter, more open crumb. Let dough rest, covered, for one hour.
Step 3 Add Salt + Stretch and Fold #1: Sprinkle 10g of salt evenly over the top of the dough, and dimple into dough with wet hands. With wet hands, begin the first round of stretch and folds. Stretch and folds are a gentle way to strengthen sourdough dough during bulk fermentation. Instead of kneading, you lift one side of the dough, stretch it upward, and fold it over itself. Rotate the bowl a quarter turn and repeat on all four sides. This builds gluten, improves structure, and helps trap air for a better rise. I typically do 8 stretch and folds at a time, twice around the bowl.
Steps 4 – 6 Stretch and Fold #2, #3, #4: Repeat the Stretch and Fold process every 30 minutes. I typically start to incorporate Coil Folds on #3 and #4. With wet hands, slide your hands under the center of the dough and lift it straight up. The top and bottom will fold under as you place it back into the container. Turn the bowl and repeat the coil fold process. This helps strengthen the gluten while keeping the dough airy and light. It also starts to build a smooth top of the dough.
Step 7 Bulk Ferment: Keep bowl in a warm location. Bulk Fermenation will take 4-6 hours, depending on the temperature of the dough and the kitchen. Signs dough is ready: dough should rise 30%- 50%, with small bubbles on the bottom and side of the bowl, dough feels light and airy, pulls away easily from the side of the bowl, and surface is smooth and slightly puffy.
Signs of Underproofed Dough:
- Dough feels tight and dense.
- Little rise during proofing.
- Poke springs back quickly and fully.
- Bread may have large holes near the top and a dense bottom crumb.
- Poor oven spring or uneven bursting when baked.
Signs of Properly Proofed Dough:
- Dough looks puffy and slightly expanded.
- Poke slowly springs back, leaving a slight indent.
- Dough feels light and airy.
Signs of Overproofed Dough:
- Bread often has little oven spring and a flatter loaf.
- Dough feels very soft, loose, or fragile.
- Poke leaves a deep indent that does not spring back.
- Dough may spread out and lose shape when turned out.
Step 8 Shape: Once dough is proofed, it is time to shape! Turn dough out on to floured surface. Stretch dough out into a rough rectrangle. Start by doing a tri-fold by taking the left side to the center. Fold the right side over the left. Next, roll the log you made away from you, tucking in the ends to make a ball. Gently perform several push and pulls to create tension on the surface. Once you have a tight dough ball, move dough to a floured banneton or bowl. The smooth top side of the dough goes into the bowl the banneton with the bottom facing up. Lightly sprinkle the bottom, now top, with flour and cover with a towel or plastic wrap.
Step 9 Cold Ferment: Place banneton in the refridgerator for 10- 12 hours, or up to 24 hours for a stronger flavor.
Step 10 Score and Bake: Preheat oven and Dutch oven at 450 degrees F. Once preheated, take dough out of the refrigerator. Turn dough out on to a pieces of lightly floured parchment paper or a silicon heat safe bread mat. Using a bread lame, score the top bread with desired design. For an easy simple score, simply sore down the middle of the dough, making sure you score at least 1/4 inch into the dough. \\
Carefully pull Dutch Oven out of the oven and place parchment paper and dough into the Dutch Oven. Replace lid, and return to oven.
Bake for 30 minutes at 450 degrees. Reduce temperature to 425 degrees and carefully remove the lid of the Ditch Oven. Bake for an additional 20 minutes.
Step 11 Cool and Enjoy: Remove the Dutch oven from the oven and carefully lift the parchment paper and bread out. Cool on a cooling rack for at least 2 hours before slicing. Enjoy your freshly made bread!

Classic Sourdough Loaf
Equipment
- Large Bowl
- Kitchen Scale
- Dutch Whisk Can also use a wooden spoon or sturdy rubber spatula
- Dutch oven
- Parchment Paper or Bread cooking mat
- Flour Duster optional
- Bread Lame Can use a knife
- Bread Banaton with Linen Liner Can use a kitchen towel-lined bowl
Ingredients
- 360 grams Warm Filtered Water
- 100 grams Active Sourdough Starter
- 500 grams Bread Flour Can use a mix of all purpose and bread flour
- 10 grams Salt
Instructions
Mixing Dough and Autolyse
- Using your Kitchen Scale and Large Bowl, measure out 360 grams of water.
- Add 100 grams of Active Sourdough Starter. Remove bowl from scale and mix using the Dutch Whisk or Wooden Spoon until incorporated into the water. You should see bubbles on the surface.
- Return bowl to scale and measure in 500 grams of flour. Remove from scale, and mix with the Dutch Whisk until a shaggy dough forms.
- Cover bowl with a clean kitchen towel or lightly with a bowl lid for 1 hour.
Stretch & Folds and Bulk Fermentation
- Measure 10 grams of salt. Spinkle salt over the dough and dimple it into the dough with wet hands.
- Perform your first set of stretch and folds by pulling up the edge of the dough and gently pulling it up and placing it on top of the dough ball. Turn the bowl a quarter turn and repeat. Go twice around the bowl - around 8 stretch & folds. Cover and rest for 30 mins.
- Perform the second round of stretch and folds. Cover and rest for 30 mins.
- Perform the third set of stretch and folds. This time you can incorporate coil folds to help form a smooth top. Cover and rest for 30 mins.
- Perform the fourth and final round of stretch and folds, using the coil fold method. Cover and continue bulk fermentation for 5-7 hours until the dough has doubled in size. You should see bubbles on the bottom or side of the bowl. The top should have some bubbles and appear rounded, pulling away from the sides.
Shape and Cold Ferment
- Turn the dough out onto a clean and floured surface. The dough should release relatively easily and cleanly from the bowl. Gently stretch the dough into a rectangle.
- Tri-fold the dough, starting from the left side and then the right. Starting from the bottom, roll the dough log into a ball.
- Perform a couple pull and pulls to create tension on the surface of the ball. This is your pre-shaped dough. Rest for 5-15 mins.
- Gently turn the dough ball over so the top of the ball is now on the floured surface. Gently stretch into a smaller rectangle and repeat the shaping process. Perform several push-and-pulls until you achieve a good tension surface.
- Flour your lined banaton basket. Plop dough bowl, top side down, into the banaton. Stitch up the bottom, now top, if loose. Sprinkle lightly with flour and cover with one of the following: kitchen towel, linen banaton cover, or plastic wrap.
- Place in refrigerator and chill for 10-12 hours until ready to bake. No longer than 48 hours.
Score and Bake
- Preheat Oven and Dutch Oven to 450 degrees.
- Once preheated, pull banaton from refigerator.
- Cut a piece of parchment paper that is slightly larger than the width of the Dutch Oven and place on a clean working surface. Sprinkle very lightly with flour. * You can also use a non-stick bread mat instead of parchment paper.
- Turn sourdough out onto the center of the parchment paper and gently peel away the linen liner. Sprinkle the surface with flour and smooth with your hand.
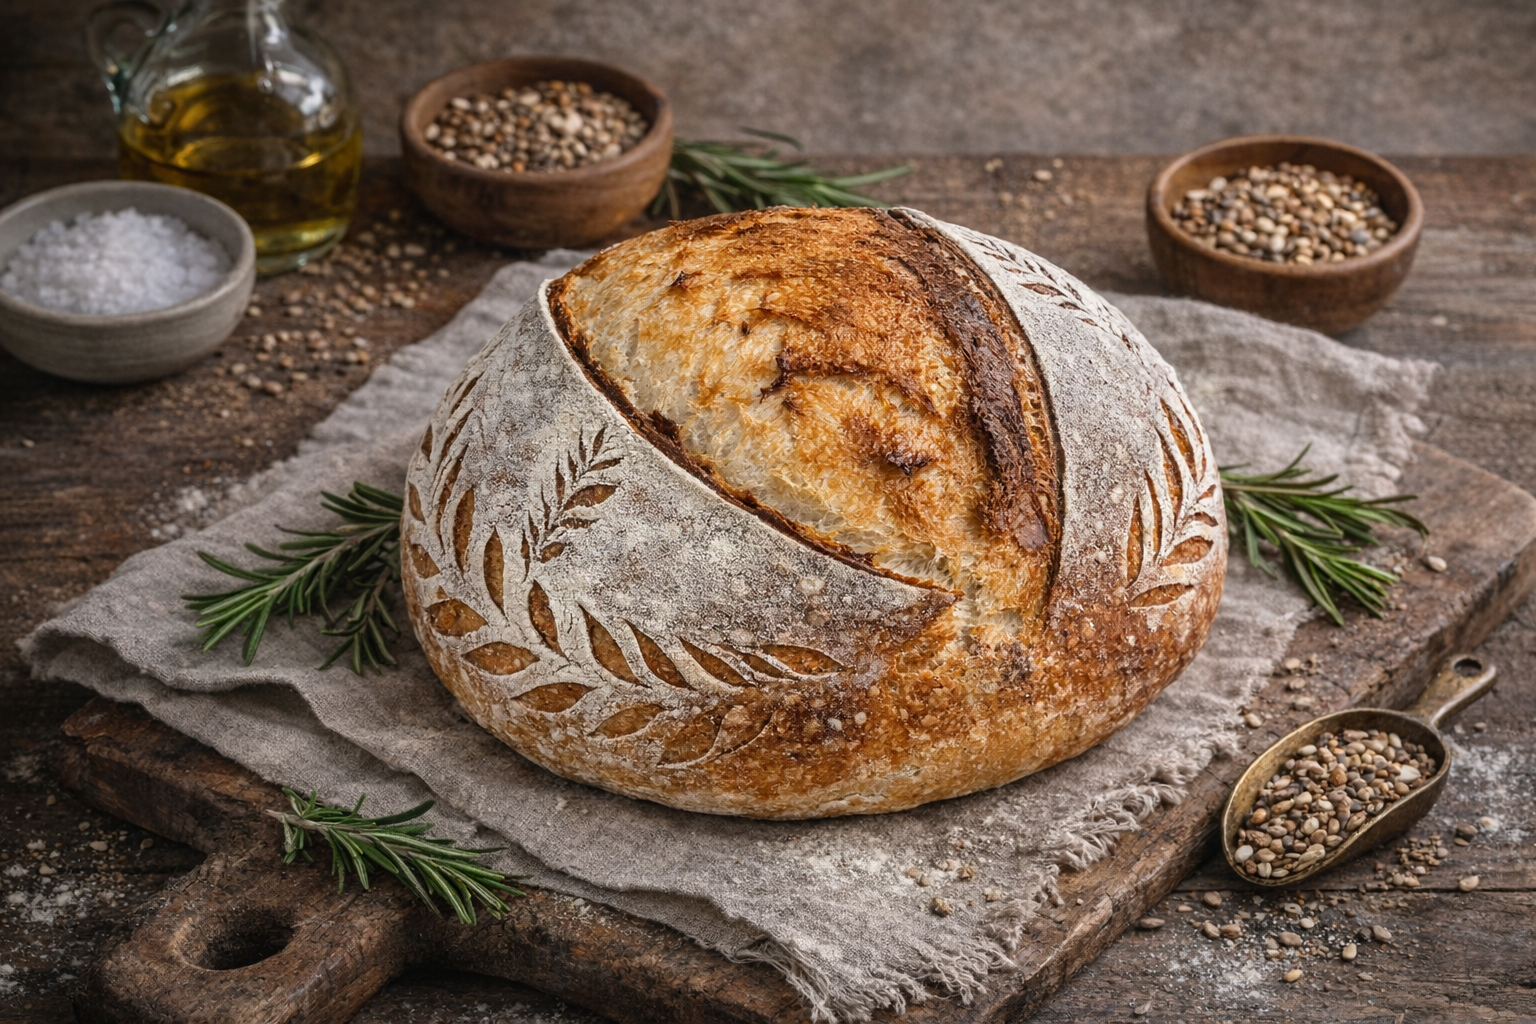
- Here you can decorate with any design you wish. After you make decoration cuts, score bread with any design you prefer. *I default to simple wheat stalks on both sides and a deep score down the middle.
- Carefully remove the Dutch Oven from oven and place parchment paper and dough into the Dutch Oven. Replace lid, and return to oven. Bake for 30 mins.
- After 30 mins, remove lid of Dutch Oven and lower temperature to 425 degrees. Bake for 20 minutes.
- Carefully remove bread from the Dutch Oven by using the parchment paper to lift the bread. Pot will be very hot!
- Cool bread completely on a wire rack before cutting.
- Slice and Enjoy!
Notes
- Bulk Fermentation time will vary depending on the temperature of your environment. The warmer it is, the quicker bulk fermentation will happen. Keep an eye on the dough during this time.